Before you quote your first job, spend two minutes setting up your business details. Everything lives in one place under Settings, and what you enter here shows up on your quotes, invoices, and the portal your customers see.
1 Open Settings
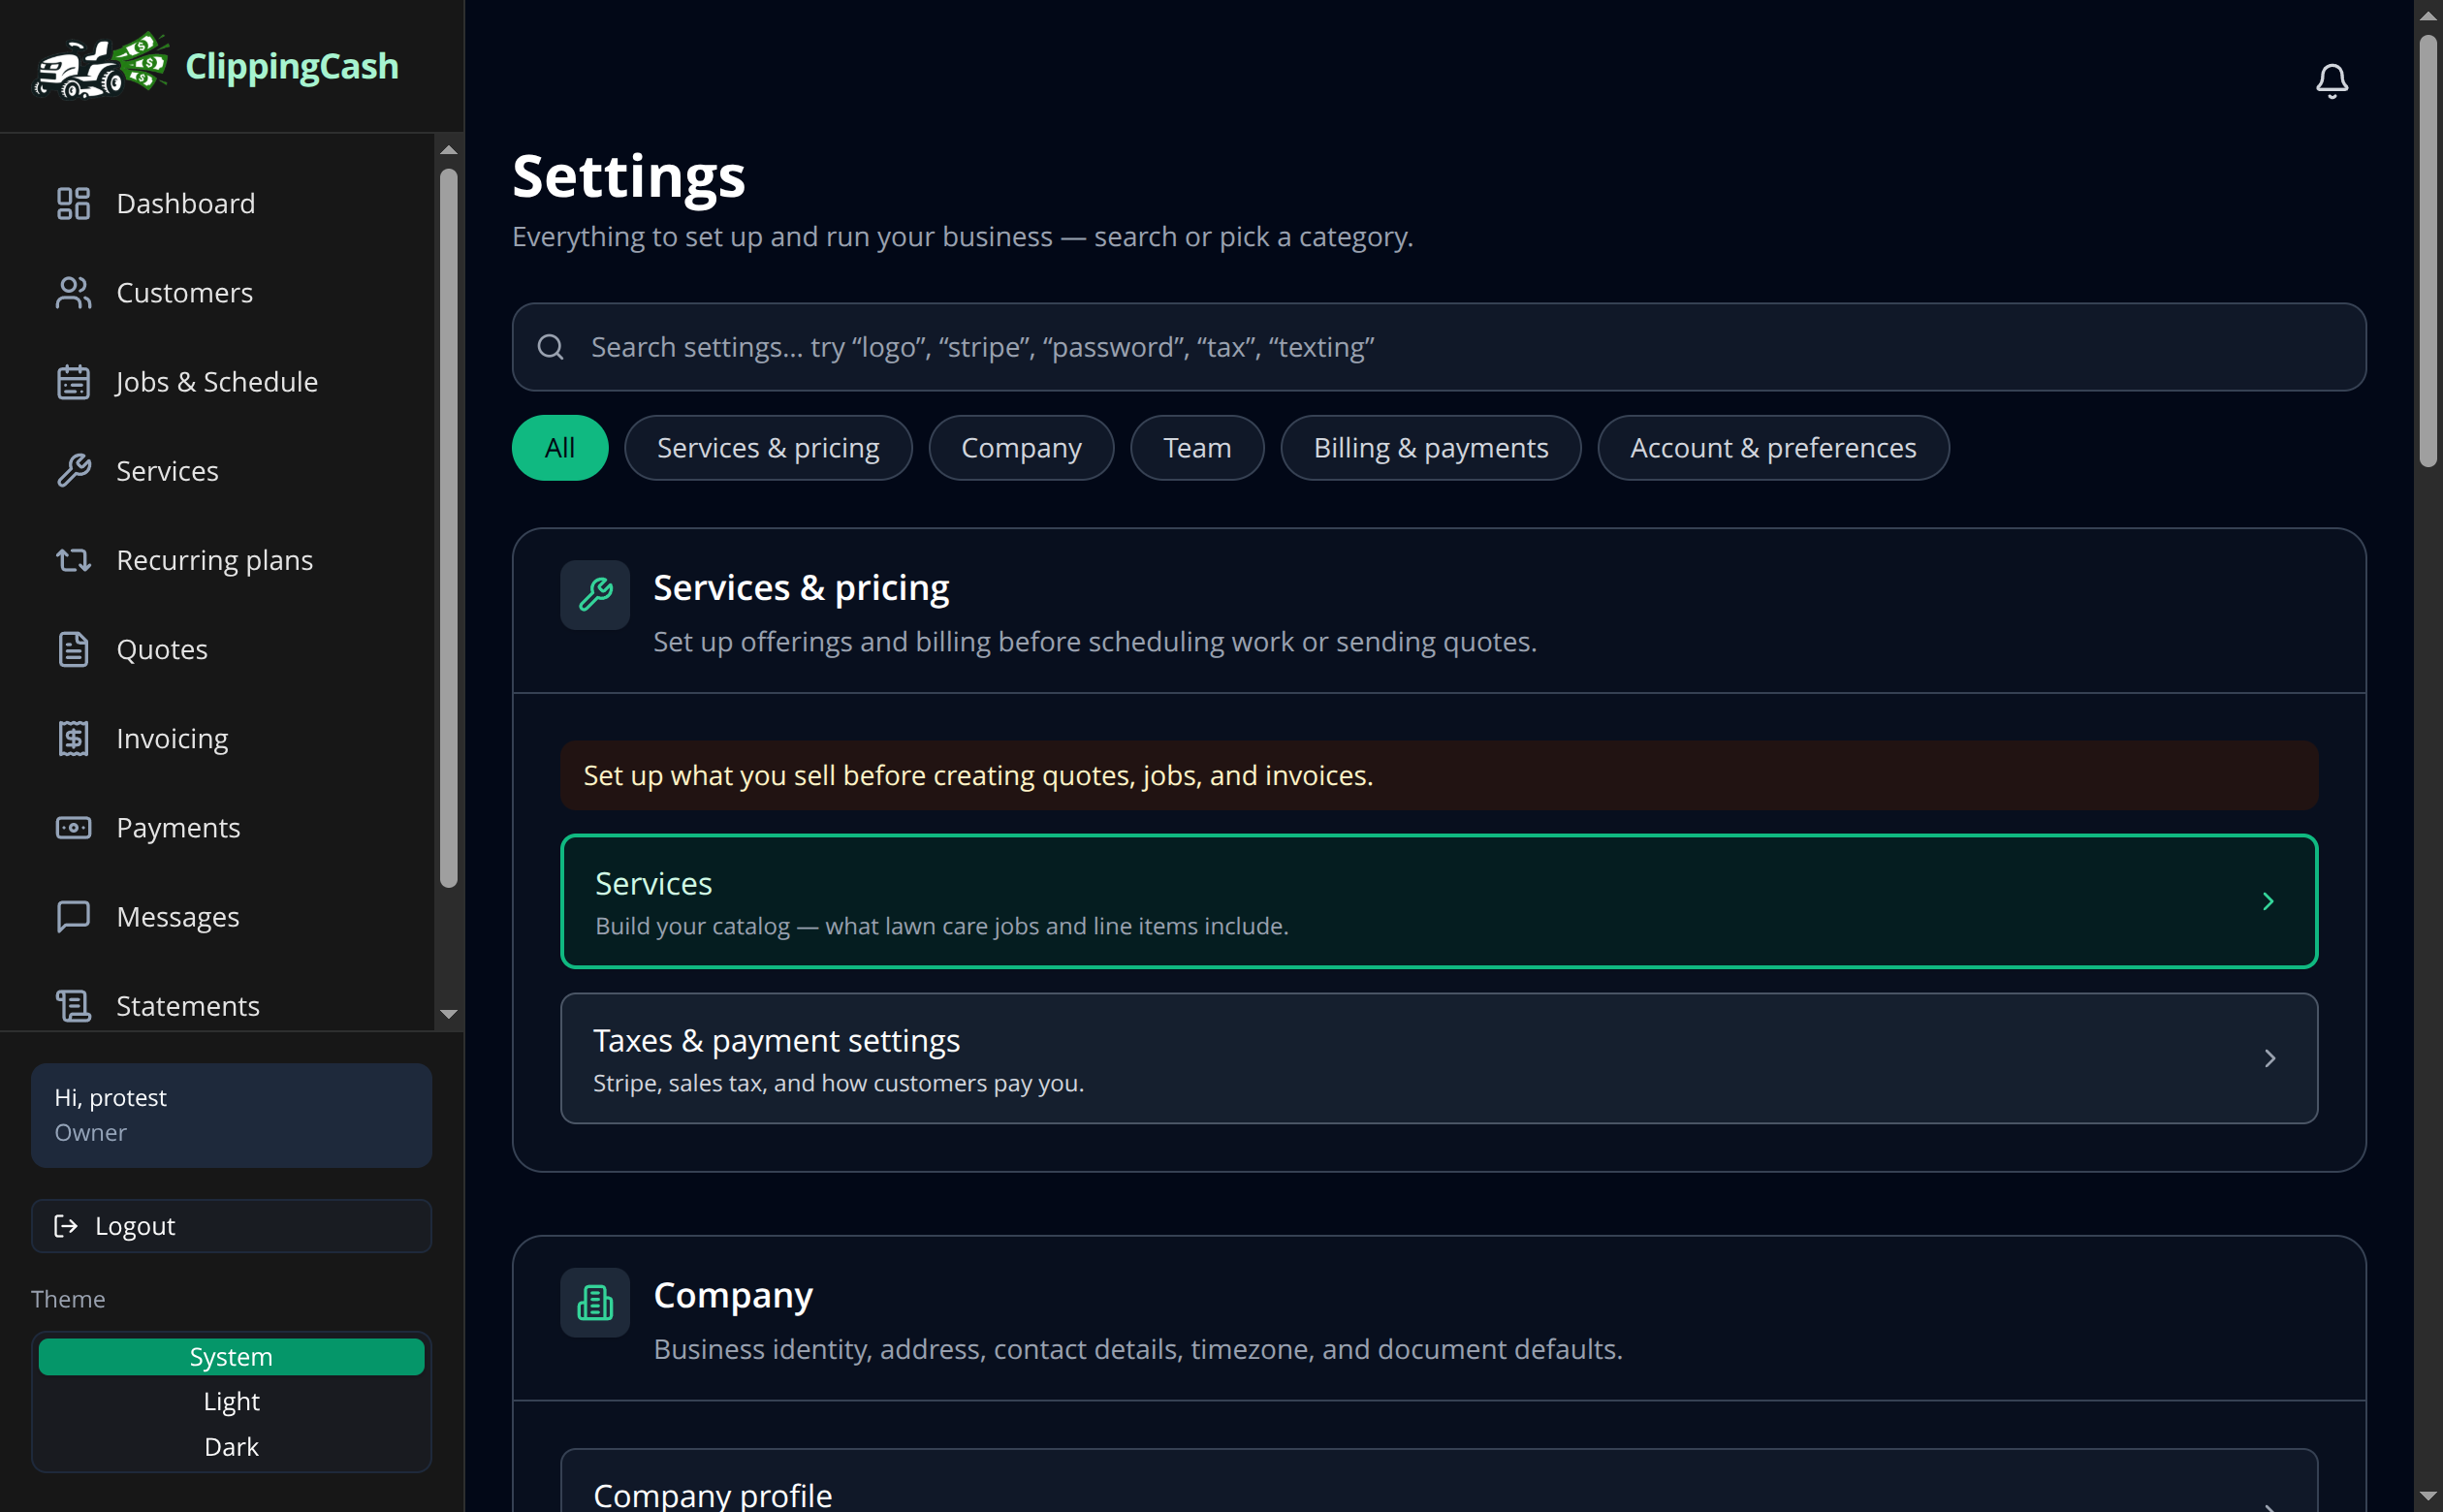
Click Settings in the left menu. The page is organized into plain-language groups: Services & pricing, Company, Team, Billing & payments, and Account. Search the bar up top if you are looking for one specific thing.
2 Fill in your company profile
Under Company, open Company profile to set your legal name, address, contact details, and timezone. Add your Logo so it shows on quotes and invoices. These details are what your customers see, so it is worth getting them right once.
3 Set how you get paid
Under Billing & payments, open Stripe & payment settings to connect payouts, set your sales tax, and choose which payment methods customers can use. You can come back to this anytime as your business grows.