The schedule is your daily route. You can add jobs manually or from an approved quote, work through them in order, and complete each one on-site with photo proof. Here’s the flow.
1 Open Jobs & Schedule
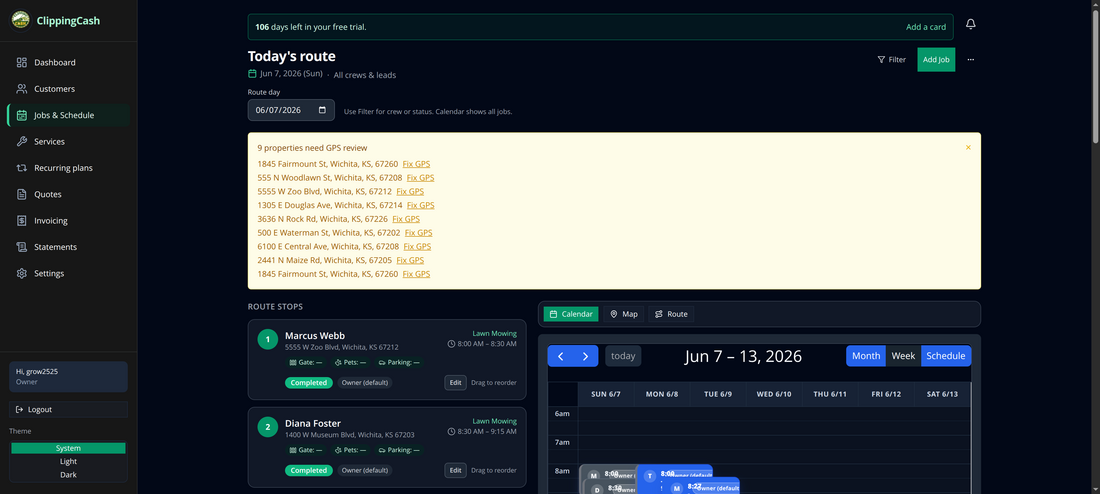
Go to Jobs & Schedule to see the day’s route as an ordered list and on a calendar. Each stop shows the customer, address, time window, and status, and you can reorder stops by dragging.
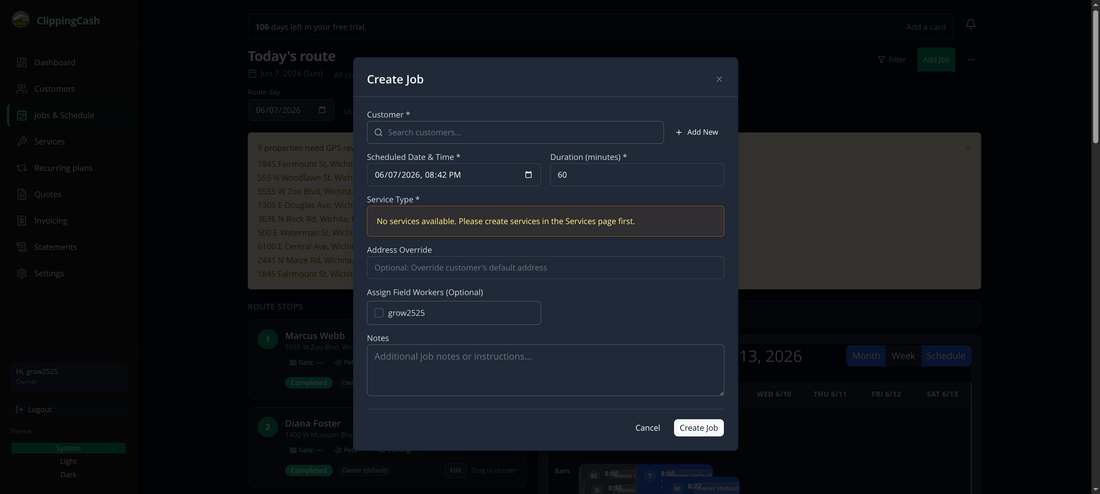
2 Add a job
Click Add Job, choose the customer, set the date, time, and duration, pick the service, and optionally assign a crew member. (If you don’t have services yet, add them on the Services page first.)
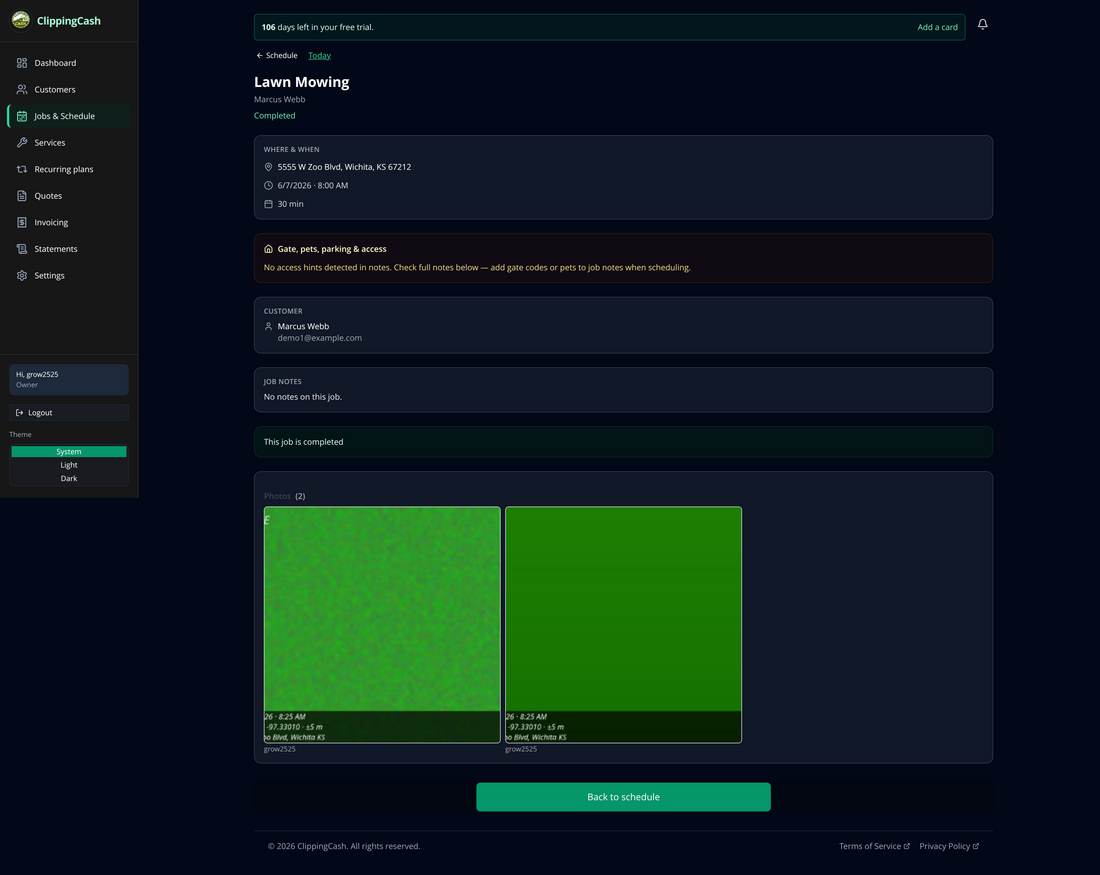
3 Complete it with photo proof
When the work is done, the crew completes the job from the field. ClippingCash captures the GPS location and time of each photo and burns a proof stamp — date, coordinates, and address — onto each one. The completed job shows your before and after photos right on the record.