When a job is completed, ClippingCash can generate an invoice automatically. When the customer pays, you record it here so your unpaid balances and reports stay accurate. Here’s how.
1 Open Invoicing
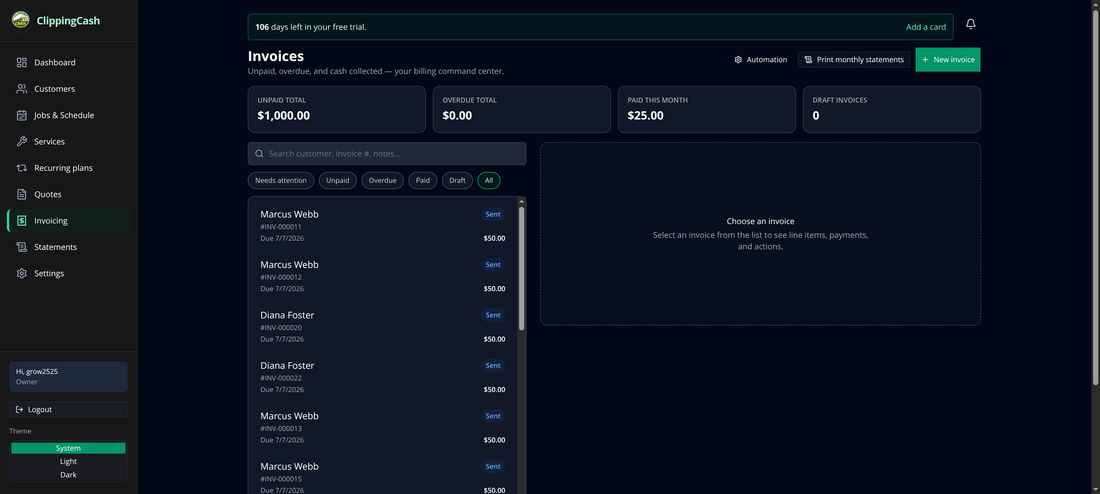
Go to Invoicing. The top of the page shows your unpaid, overdue, and paid totals, with a filterable list of every invoice and its status.
2 Open the invoice and choose “Record payment”
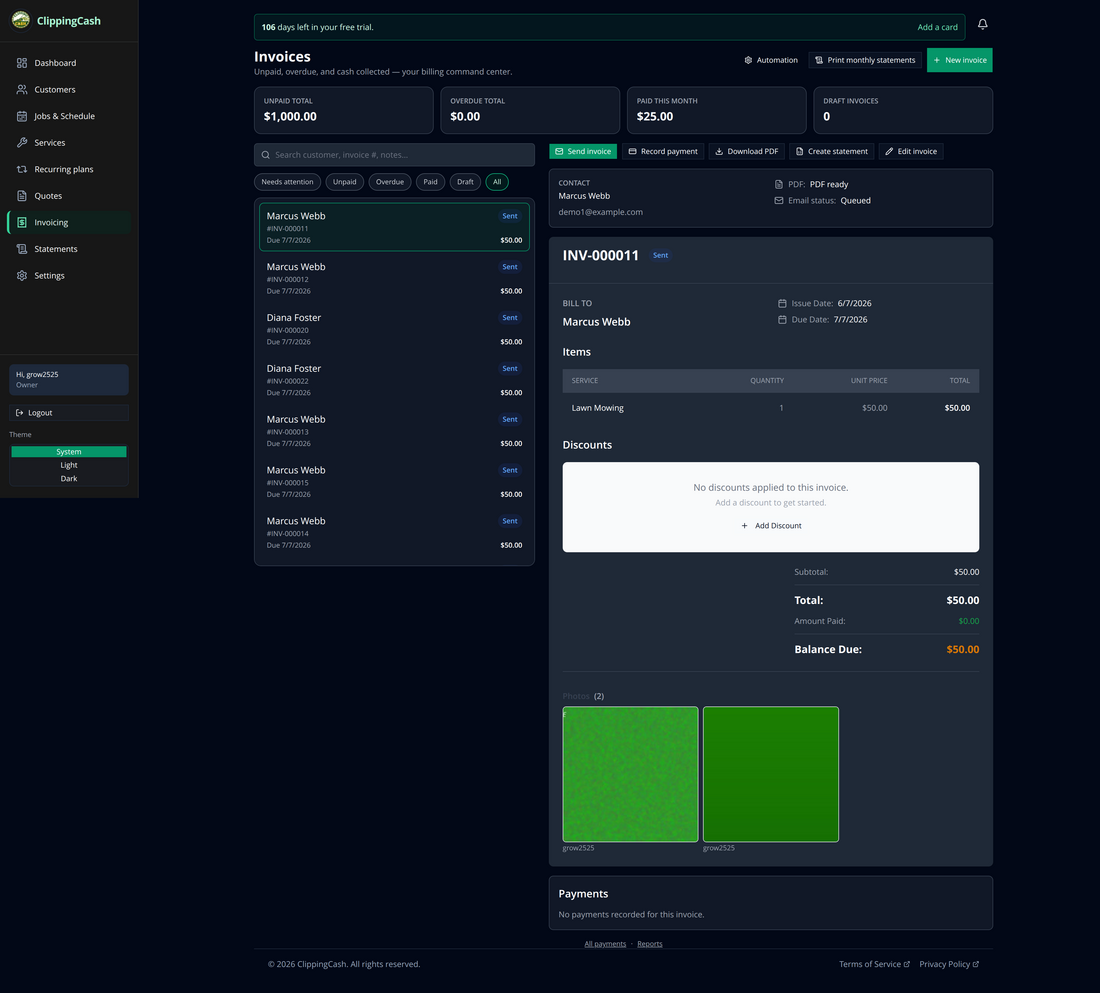
Click an invoice to see its line items, balance due, and the job photos attached to it. Then click Record payment.
3 Enter the payment
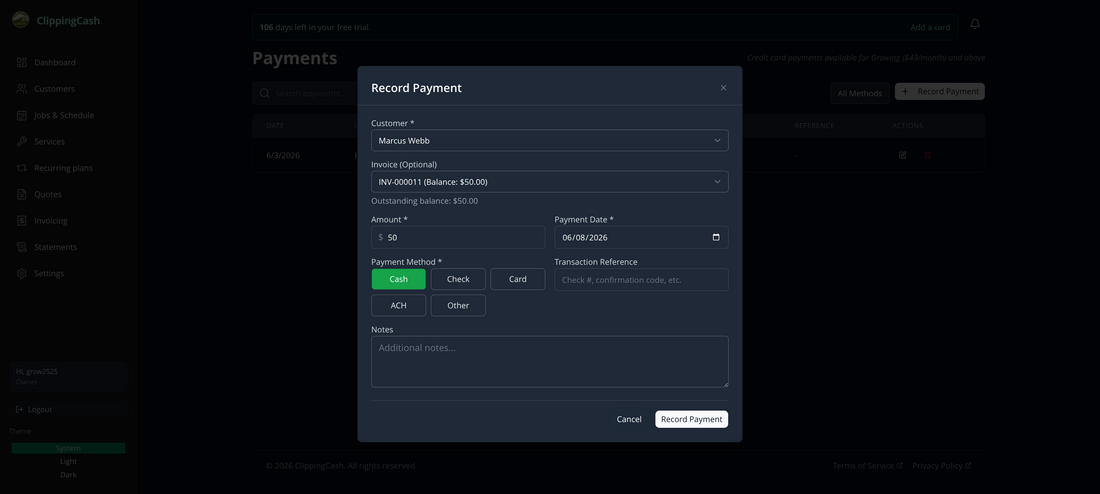
The amount and customer are pre-filled. Pick the payment method — Cash, Check, Card, ACH, or Other — set the date, add an optional reference (check #, confirmation code), and click Record Payment.
4 Done — the payment is logged
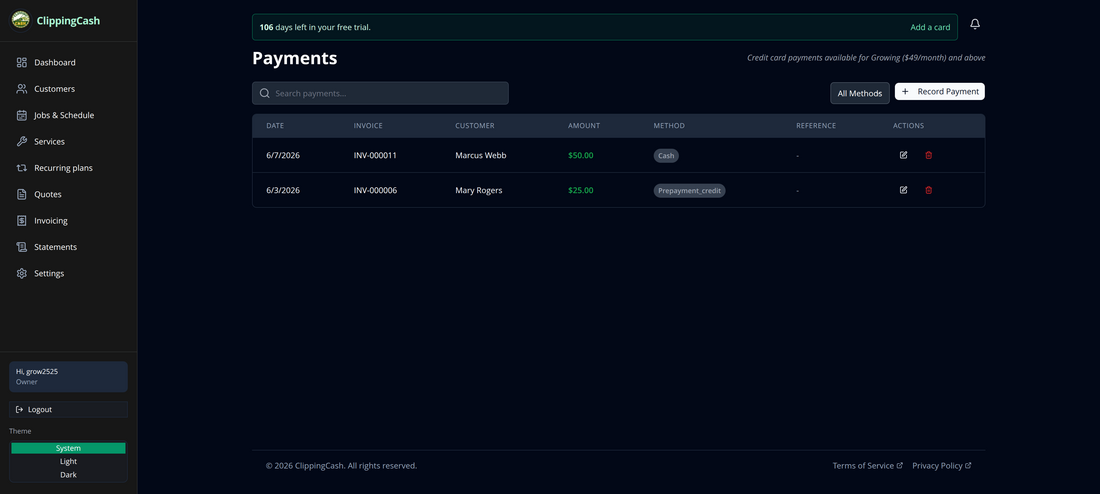
The payment appears in your Payments list, the invoice balance updates, and your paid totals move accordingly.