Everything in ClippingCash starts with a customer. Once a customer exists, you can quote them, put jobs on the schedule, and bill them. Here’s how to add one — it takes about 30 seconds.
1 Open Customers and click “Add customer”
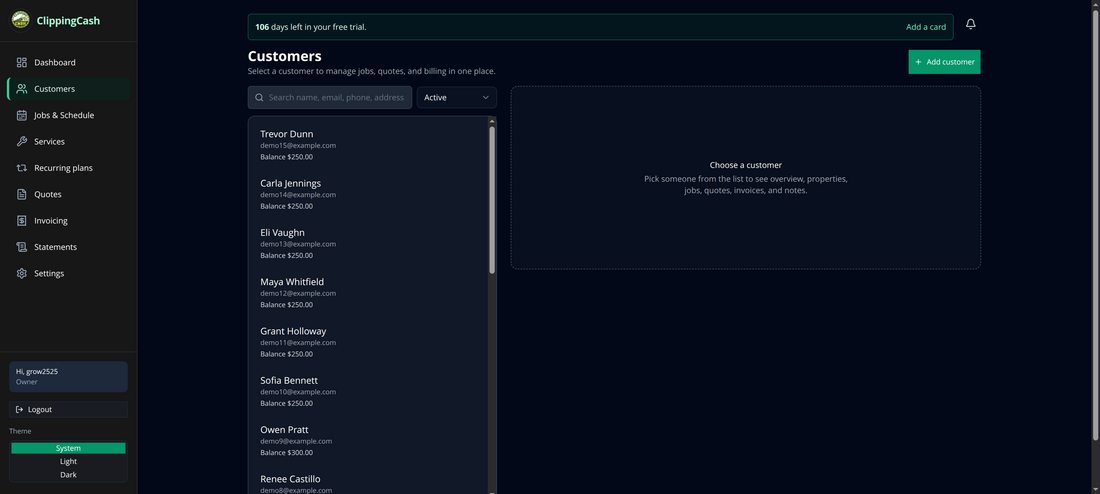
From the left menu, go to Customers. You’ll see your customer list with a search box and an Add customer button in the top-right.
2 Fill in their details
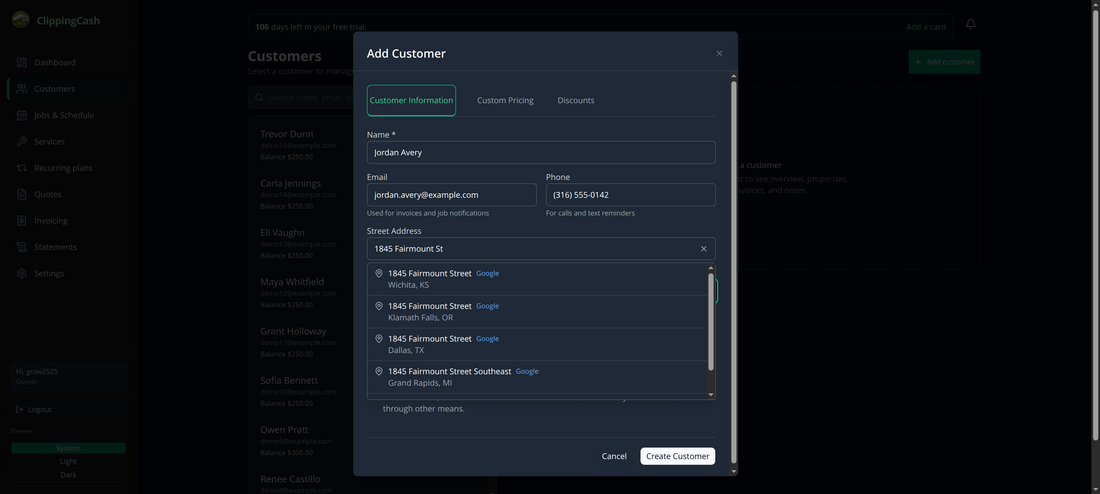
Enter the customer’s name (the only required field), plus email, phone, and service address. The email is used for invoices and job notifications; the phone is used for call and text reminders.
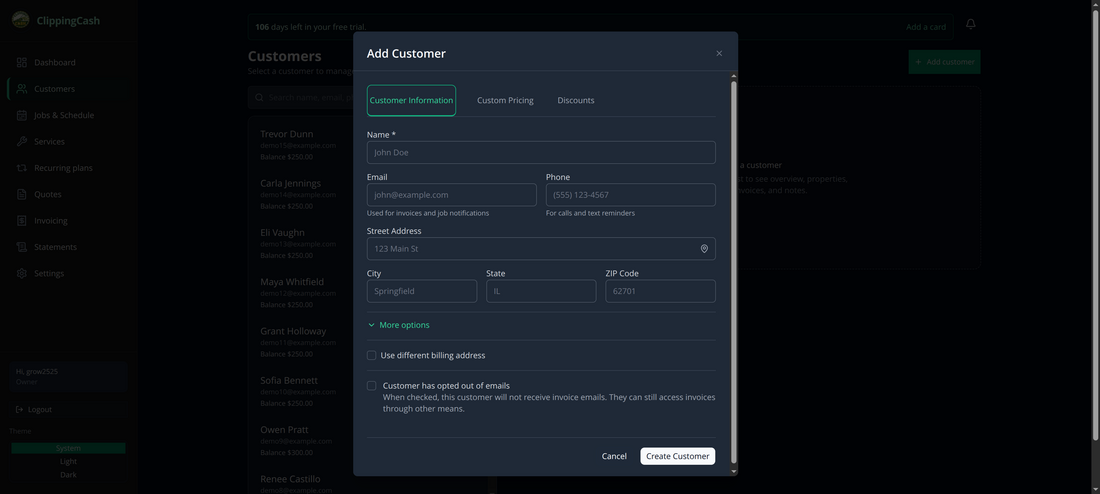
A completed form looks like this. Use More options if the billing address differs from the service address, or to opt the customer out of emails.
3 Create the customer
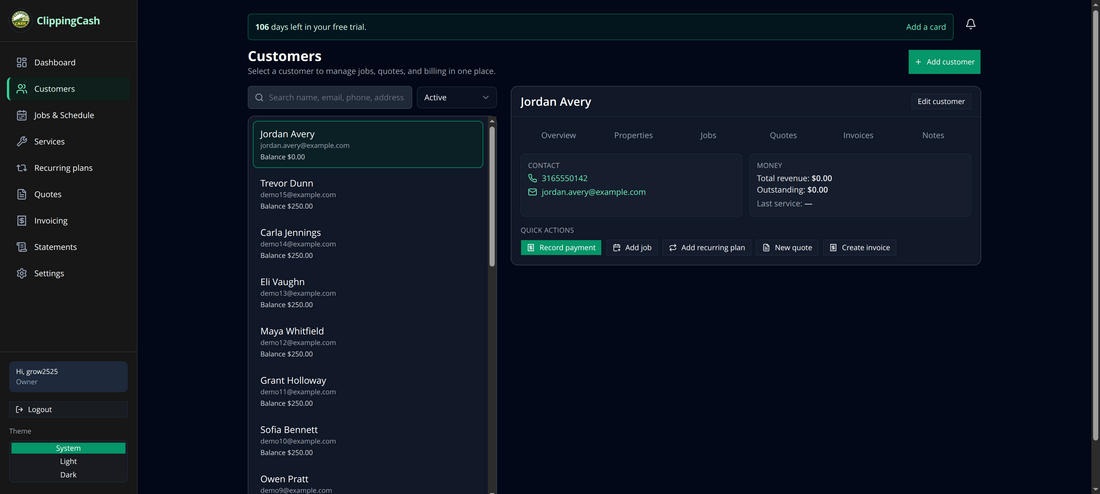
Click Create Customer. They appear at the top of your list immediately, ready for quotes, jobs, and invoices.
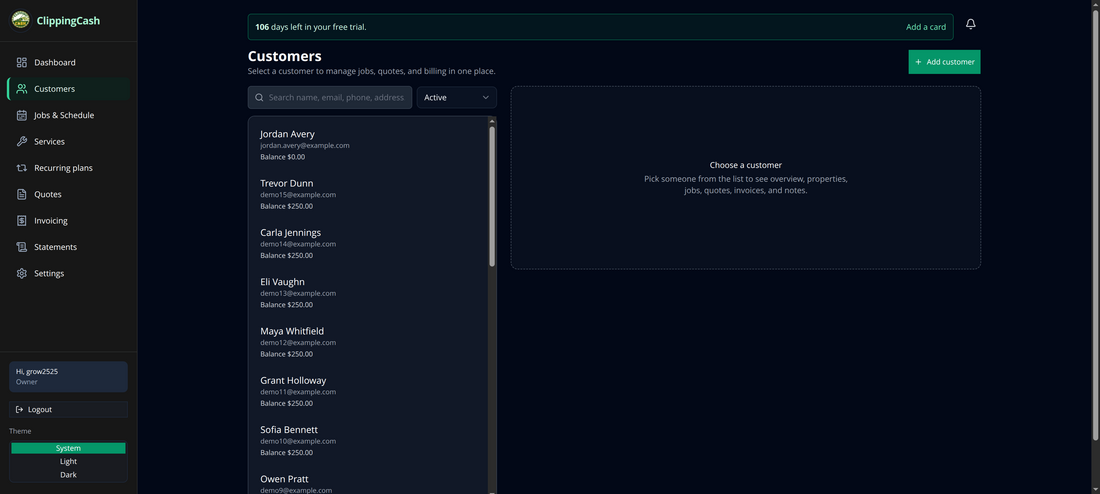
Click their name to open their profile, where you’ll see overview, properties, jobs, quotes, invoices, and notes all in one place.